10 Best Pilates Moves For Lower Back Pain Relief
Last Updated on June 6, 2025
Relief is within reach—one move at a time.
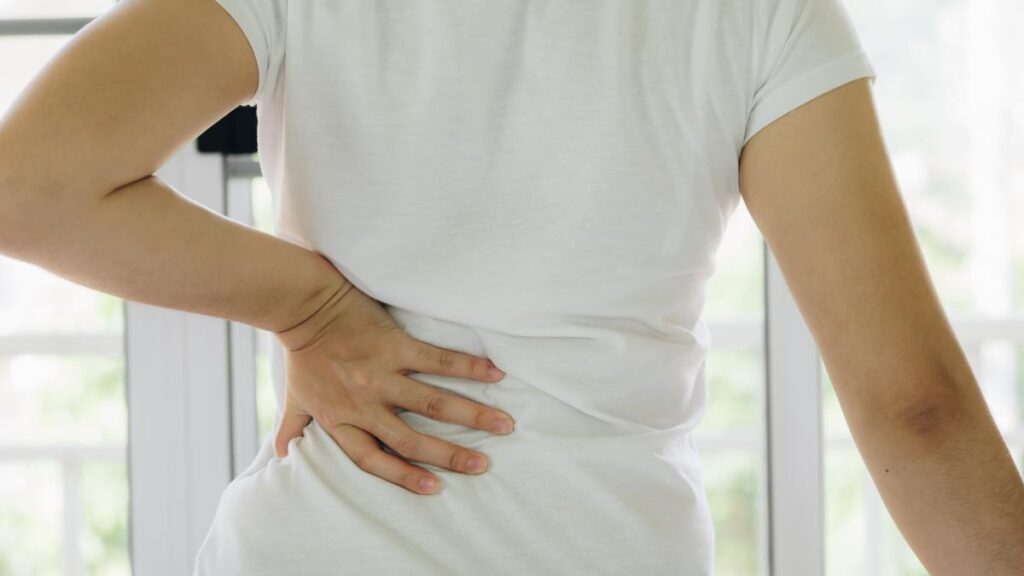
Have you ever been stopped in your tracks by a sudden pinch in your lower back? You’re not alone.
Whether it flares up after a long day at work or sneaks in while tying your shoes, that deep ache can feel overwhelming.
As a nurse, consultant, and someone who’s helped countless patients find movement-based relief—I know how frustrating lower back pain can be.
That’s exactly why I added Pilates to my wellness routine.
It’s gentle. It’s powerful. And it’s proven to reduce discomfort while improving posture, flexibility, and spinal support.
If you’ve wondered what the best Pilates moves for lower back pain relief are, you’re about to find out.
This guide walks you through the top 10 moves I recommend to clients, backed by science and grounded in real-life results.
Let’s get you started.
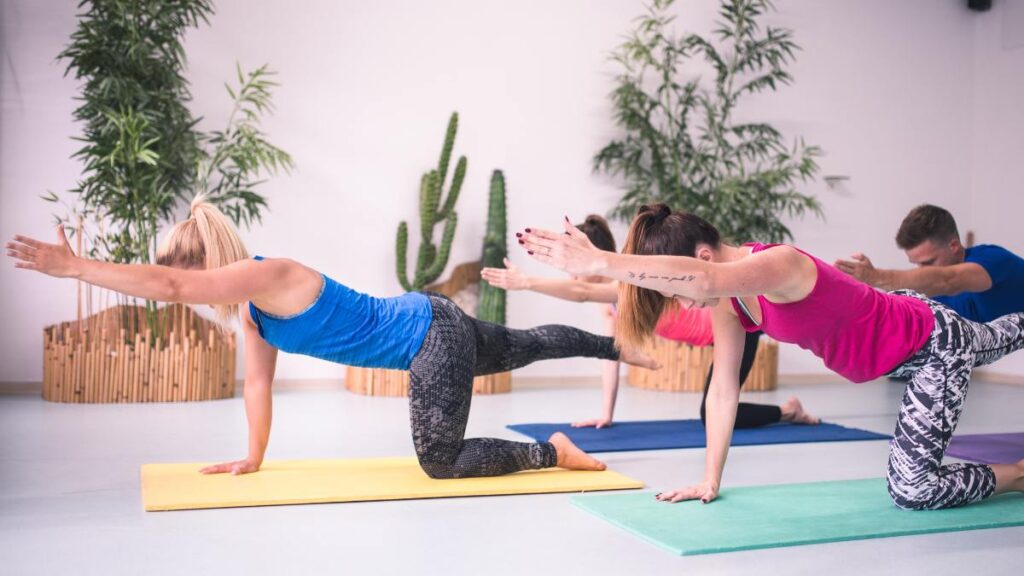
Why Pilates Works For Lower Back Pain Relief?
I’ve seen a lot of trends come and go, but Pilates is here to stay—and for good reason.
Unlike high-impact workouts or passive stretching routines, Pilates works by targeting the deep, stabilizing muscles that support your lumbar spine and pelvis. It teaches your body how to move better, not just harder.
Studies have shown its effectiveness:
- A 2023 study in International Journal of Health Sciences and Research found that Pilates significantly reduced chronic low back pain and improved functional movement.
- Another study in BMC Sports Science Medicine and Rehabilitation highlighted how Pilates enhances core stability and postural alignment, which are essential for spinal health.
Here’s what makes Pilates different:
It’s not just movement—it’s mindful movement. You focus on controlled movements, neuromuscular control, and how you feel in your body. You engage the transverse abdominis, adjust your breath, and connect the brain to the body.
I once had a client who struggled with back pain for years. She was skeptical, but within weeks of consistent Pilates, her pain reduced dramatically. “It’s like my back finally has backup,” she told me.
Are you surprised how much your posture affects your pain? Most people are—until they feel the shift.
The 10 Best Pilates Moves For Lower Back Pain Relief
Besides trying Pilates for recovery, this exercise offers more lot benefits, and relief from lower back pain is one of them. So, what could be the best move to make Pilates work in this regard?
Here are the 10 best Pilates moves you should give a try to feel the difference:
1. Pelvic Curl – Reconnect With Your Spine
Targets: Glutes, hamstrings, deep core
Benefits: Spinal mobility, pelvic awareness
The Pelvic Curl is one of the most powerful yet gentle Pilates moves for activating your posterior chain and improving spinal articulation. It’s my go-to for clients who feel stiff or disconnected from their lower body.
This movement not only strengthens your glutes and hamstrings but also encourages segmental spinal mobility, which is often limited in those with chronic back pain.
Instructions
- Lie on your back with knees bent and feet hip-width apart.
- Arms should rest by your sides, palms down.
- Inhale to prepare.
As you exhale, tilt your pelvis, press your lower back into the mat, and slowly roll your spine up off the mat, lifting one vertebra at a time until your hips are in line with your knees and shoulders.
- Inhale at the top.
- Exhale to roll down with control, one vertebra at a time.
Tips: Keep your ribs soft, and avoid pushing into your lower back.
Insight: This was the first move that helped me feel grounded again after pregnancy. I could finally feel my body reconnecting from the base upward.
Question: Can you feel each vertebra move? Or does your back move in chunks?
2. Dead Bug – Core Control Without Strain
Targets: Deep core, anti-extension
Benefits: Builds coordination, protects the spine
Dead Bug is one of the safest and most effective ways to retrain core stability without placing stress on your lumbar spine. It reinforces anti-extension strength—which is crucial when trying to relieve or prevent back pain.
Instructions:
- Lie on your back with your knees bent at 90 degrees over your hips and arms reaching to the ceiling.
- Inhale to prepare.
- As you exhale, lower your right arm and left leg slowly toward the floor while maintaining a neutral spine and braced core.
- Inhale to return to center. Alternate sides.
Cues: Don’t let your lower back arch off the mat. Move slowly and focus on the transverse abdominis.
Tip: If your back lifts even a little, decrease your range.
Question: Do you notice one side is weaker than the other? That’s your body giving clues—are you listening?
3. Swan Prep – Counteract Sitting All Day
Targets: Erector spinae, hip flexors
Benefits: Gentle spinal extension, opens the chest
We spend so much time hunched forward—on phones, laptops, even while driving. The Swan Prep undoes that. It teaches you controlled spinal extension and activates muscles along your posterior chain, especially the erector spinae.
Instructions:
- Lie on your stomach with hands under your shoulders and legs extended.
- Inhale to prepare.
- As you exhale, gently lift your chest, keeping your pelvis on the mat and elbows soft.
- Inhale at the top, then lower with control.
Modifications: If lifting feels too intense, use a pillow under your pelvis or just lift your head and shoulders.
Cues: Think length, not height. Avoid crunching your lower back.
Insight: Start small—it’s not about how high you go, but how controlled. I tell patients this all the time, and it’s the difference between pain relief and strain.
Question: How often do you extend your spine during the day? Probably not enough.
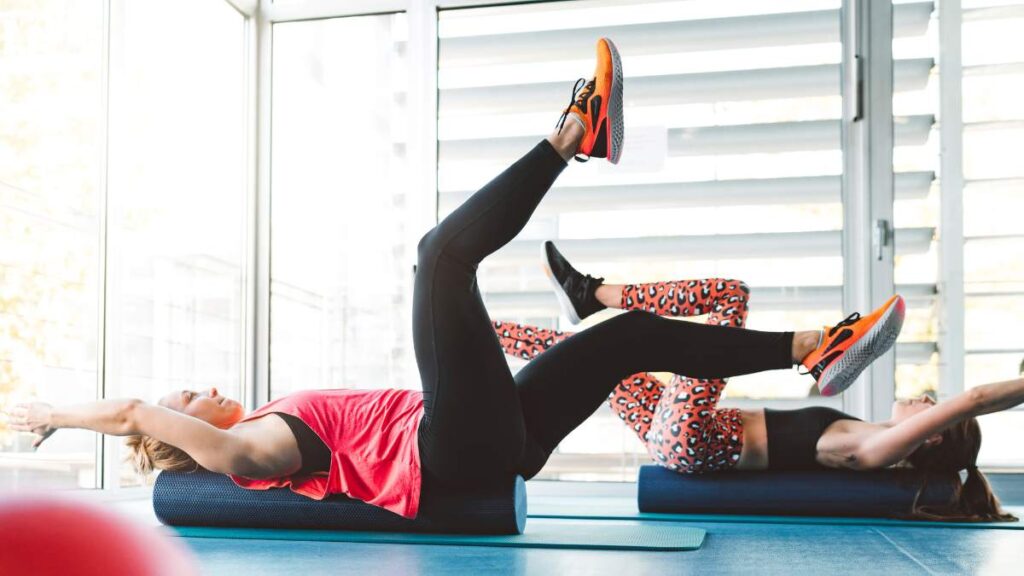
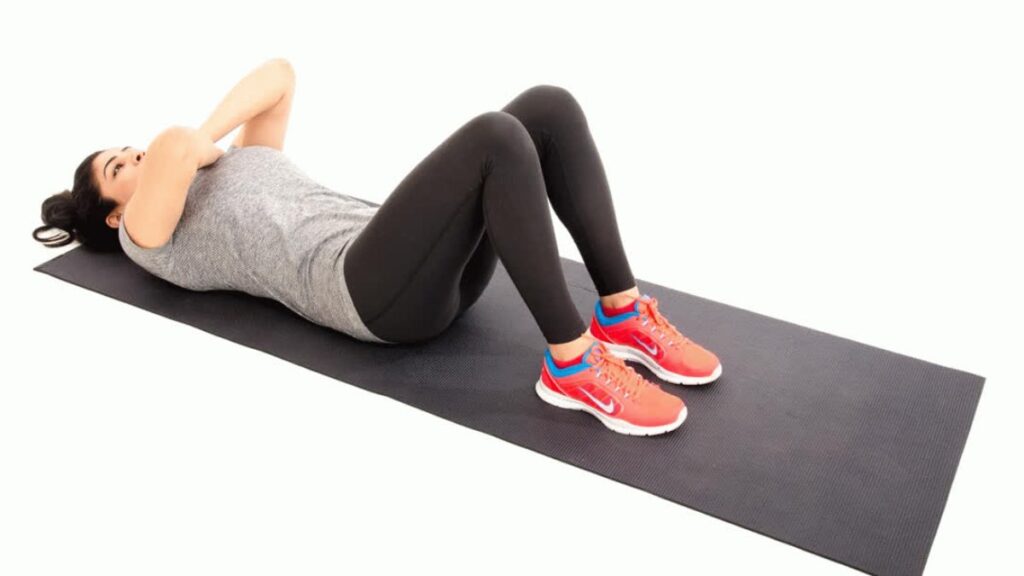
4. Single Leg Stretch – Engage Your Deep Core

Targets: Transverse abdominis
Benefits: Core endurance, spinal stabilization
The Single Leg Stretch looks simple—but it’s one of the best for activating your deep core muscles while coordinating breath and movement. It strengthens your transverse abdominis, which acts like a corset for your lower back.
Instructions:
- Lie on your back and bring both knees to your chest.
- Lift your head, neck, and shoulders.
- Extend one leg at a 45-degree angle while holding the opposite knee.
- Switch legs while keeping your core tight and spine neutral.
- Breathe: Inhale for one leg, exhale for the other.
Cues: Keep your gaze forward and elbows wide.
Insight: One of my clients said this move made her feel “stronger from the inside out.” I couldn’t agree more. It’s not flashy—but it works.
Question: Can you keep your belly from doming as you move?
5. Clamshell – Target Hip Stability
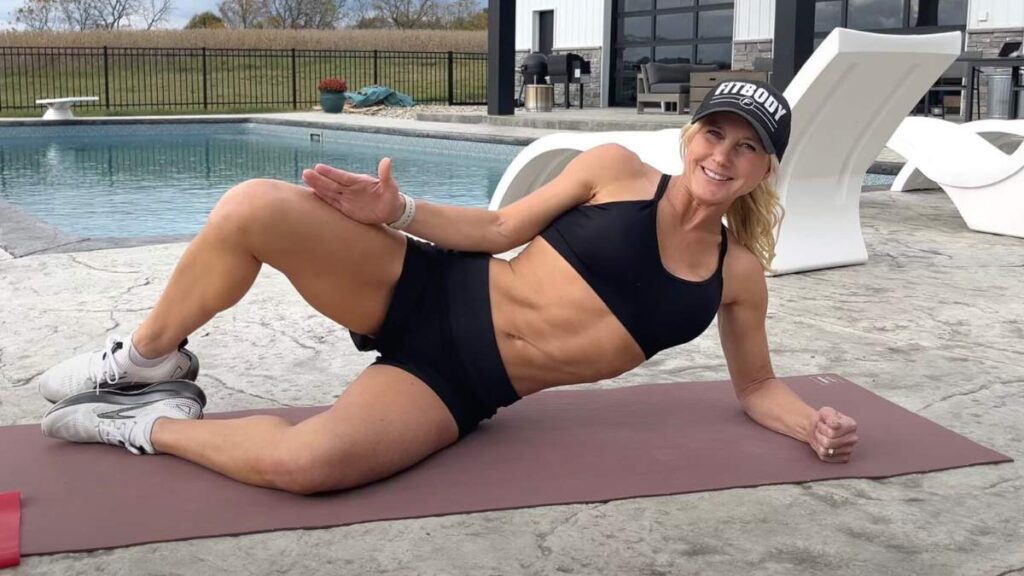
Targets: Glutes, external hip rotators
Benefits: Prevents SI joint pain, supports pelvis
The Clamshell doesn’t look like much. But oh, the power it holds! By targeting the gluteus medius and external rotators, it stabilizes your pelvis and prevents SI joint dysfunction, a common cause of nagging back pain.
Instructions:
- Lie on your side with your knees bent and feet together.
- Keep your hips stacked.
- Exhale and lift your top knee like opening a clamshell.
- Don’t roll your hips back—control is key.
- Add a resistance band above your knees to intensify the move.
Tip: Keep your heels touching and the motion small.
Insight: I add this to nearly every program. When your hips are strong, your back breathes more easily.
Question: Did you know tight hips could be why your back aches?
6. Spine Twist – Improve Mobility and Digestion
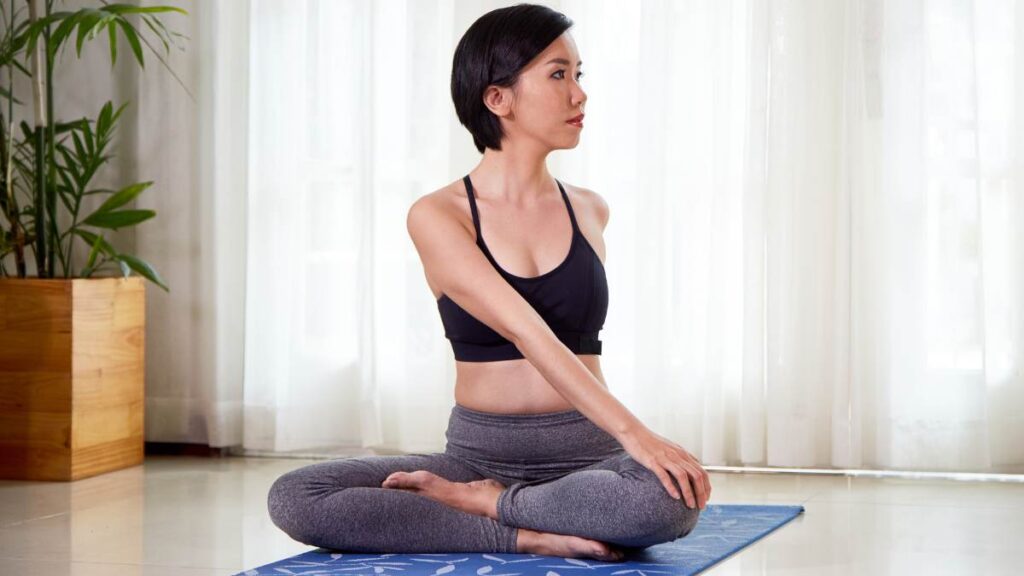
Targets: Obliques, thoracic spine
Benefits: Relieves tension, enhances flexibility
The Spine Twist helps reduce stiffness in the thoracic spine—the often-neglected middle of your back. When this area is tight, your lower back ends up overworking to compensate. Plus, spinal rotation helps massage your abdominal organs, improving digestion and circulation.
Instructions:
- Sit tall with legs extended, feet flexed, and arms stretched wide.
- Inhale to sit taller.
- Exhale and rotate your torso to one side—pulse twice.
- Inhale to return center. Alternate sides.
Cues: Keep your sit bones grounded. Twist from your ribs, not hips.
Insight: After just two weeks of doing this daily, I noticed less stiffness in the mornings and better digestion after meals.
Question: When was the last time you rotated your spine with control?
7. Leg Slide – Activate The Transverse Abdominis
Targets: Deep core, hip stabilizers
Benefits: Improves pelvic control, reduces back strain
Leg Slides may seem basic, but they train deep neuromuscular control. This move teaches your core stabilizers to stay engaged while your legs move independently—a crucial skill for everyday movements like walking or getting out of bed.
Instructions:
- Lie on your back with your knees bent and your feet on the mat.
- Inhale.
- Exhale and slowly slide one heel forward, keeping your pelvis stable and abs braced.
- Inhale to bring the leg back. Alternate sides.
Common mistake: Letting your back arch or hips wiggle.
Cues: Imagine zipping up a tight pair of pants—draw your belly in without holding your breath.
Question: Can you keep your lower back pressed into the floor?
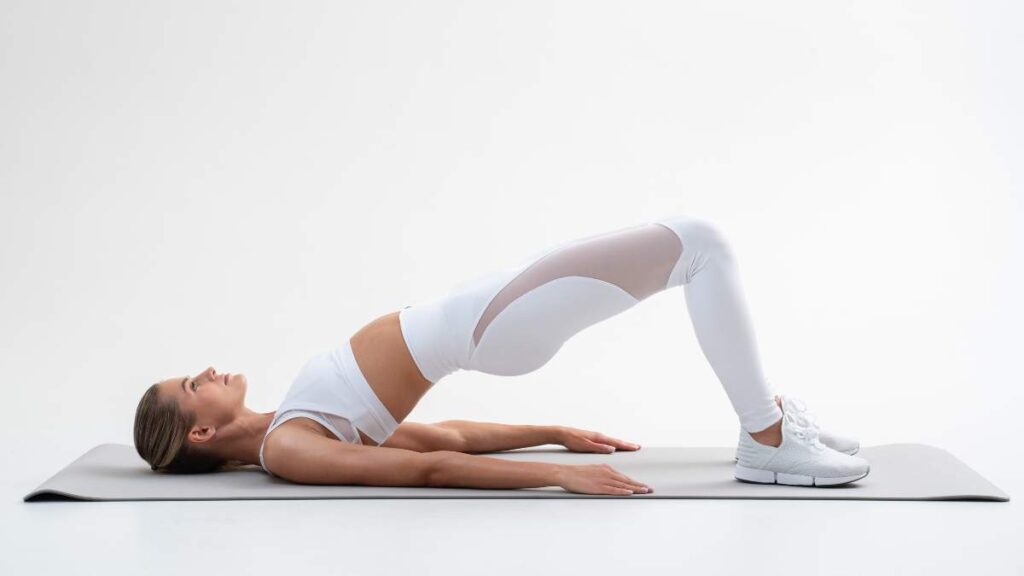
8. Bridge Pose – Strengthen Glutes and Hamstrings
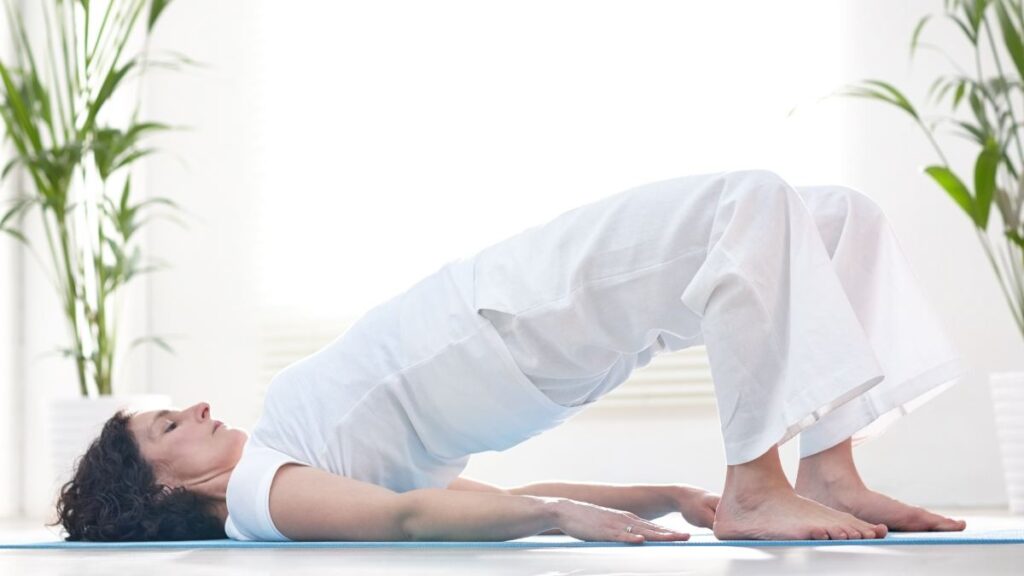
Targets: Glutes, hamstrings, core
Benefits: Stabilizes pelvis, supports lumbar spine
The Bridge Pose is a core-stabilizing classic. It strengthens the glutes, hamstrings, and deep abdominal muscles, making it a must-have for anyone with lower back sensitivity. It also teaches pelvic positioning, which helps prevent strain during other exercises.
Instructions:
- Lie on your back, knees bent, feet flat.
- Arms at your sides.
- Exhale, press through your heels to lift your hips.
- Keep ribs down and core engaged.
- Inhale at the top, exhale to lower.
Cues: Avoid over-arching your back. Focus on squeezing your glutes, not pushing from your lower back.
Insight: So many people skip this, thinking it’s too simple—but it’s a powerhouse!
Question: Can you lift and lower without your ribs flaring?
9. Swimming Prep – Build Postural Endurance
Targets: Upper and lower back muscles
Benefits: Strengthens posterior chain, improves posture
Swimming Prep targets the erector spinae, glutes, and shoulder stabilizers. It trains your body to extend against gravity; a must for counteracting slouchy posture and low-back fatigue.
Instructions:
- Lie face down, arms extended in front.
- Inhale.
- Exhale to lift opposite arm and leg slightly off the floor.
- Inhale to return, then switch sides.
Cues: Don’t lift too high—control is the goal.
Tip: Draw your shoulder blades down as you reach forward.
Question: How long can you hold good form before fatigue kicks in?
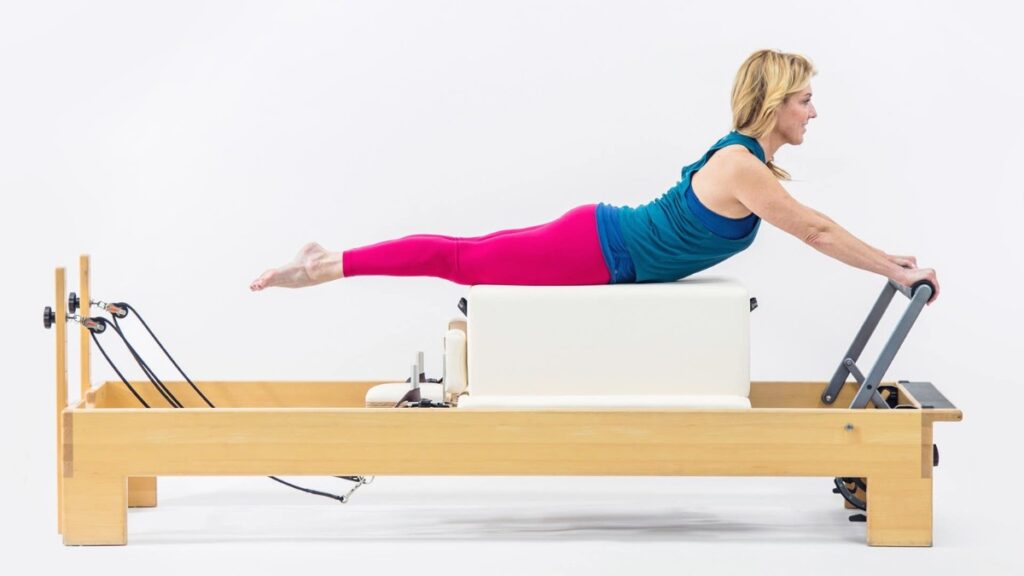
10. Footwork On The Reformer (or Wall)
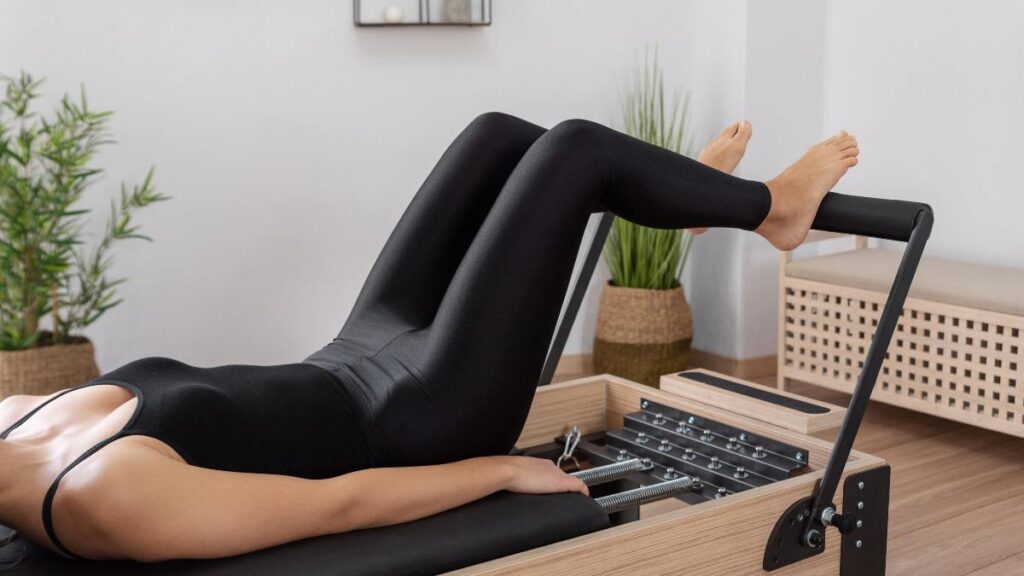
Targets: Legs, glutes, core
Benefits: Enhances body awareness, builds leg strength safely
You don’t need a fancy reformer to benefit from Pilates Footwork. Done against a wall, it teaches alignment and hip-knee-ankle coordination and builds functional strength from the ground up.
Instructions (wall version):
- Lie on your back with feet flat on a wall, knees bent at 90°.
- Press into your feet to engage the glutes and core.
- Slowly straighten your legs, keeping control, then return.
Cues: Don’t let knees knock or rotate out. Keep feet parallel.
Insight: Even without equipment, you can get great results—just focus on precision.
Question: Are your feet and hips aligned—or do they tell different stories?
How Often Should You Do Pilates For Lower Back Pain?
If you’re just starting out, I recommend 2–4 sessions per week. You don’t need an hour each time. Even 10–15 minutes consistently will lead to improvement.
Pilates works by reinforcing good movement patterns—so it’s better to do short daily sessions than long ones infrequently.
Would you rather do 10 minutes daily or suffer for hours later? I ask this to every client. They always get the point.
Things To Avoid With Lower Back Pain
Pilates is safe when done correctly, but there are a few things you should never ignore:
- Don’t force stretches—especially in the lower spine.
- Avoid crunches or forward bends if they cause pain.
- Never push past discomfort. Your body is talking—listen.
If a move feels sharp, pinchy, or electric—it’s not right for you right now.
Read Also: Is Pilates Good For Back Pain?
When To See A Pilates Specialist
While Pilates is an incredible tool, it’s not a cure-all. Watch for these red flags:
- Pain shooting down your legs.
- Numbness or tingling
- Weakness on one side
I had a client once who thought her pain was just tight muscles. I encouraged her to see a doctor. It turned out to be a herniated disc. Don’t ignore your intuition. Pilates and medical care work best together.
Conclusion – Take The First Step Toward Relief
Lower back pain doesn’t have to define your days.
Through Pilates, you can build postural alignment, strengthen your core support system, and bring freedom back into your movement.
These 10 exercises are where I start with nearly every client—and now I’m sharing them with you.
Try one or two today. Keep it simple. You’ll feel the difference.
“What would it feel like to live without that constant ache?”
You’re not alone on this journey—and I’ve got your back.